Wednesday, January 1, 2014
Monday, June 11, 2012
Creative Day 164 - Tea Party Dress!
Today I started with this pattern

to make this dress
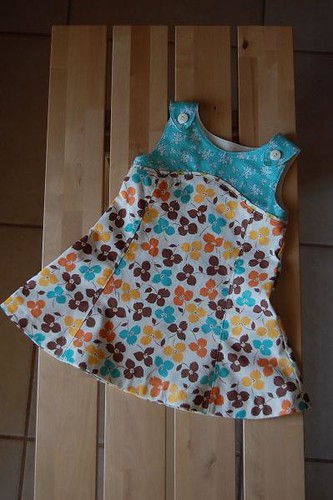
and knowing my twirly, girly girl, decided to change out the stiff skirt for a gathered,
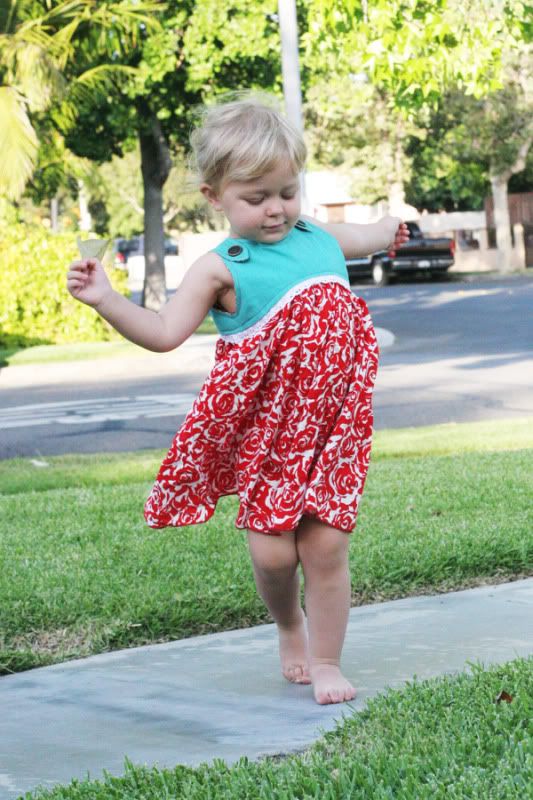
flowy,
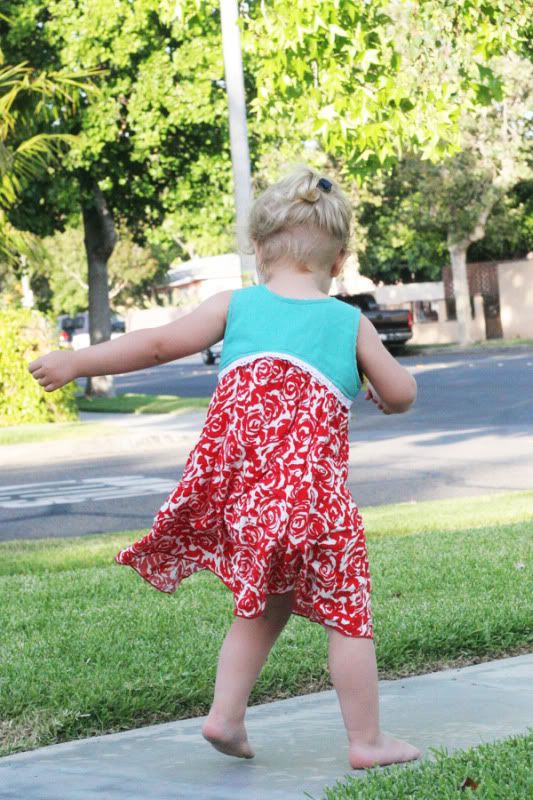
airy,
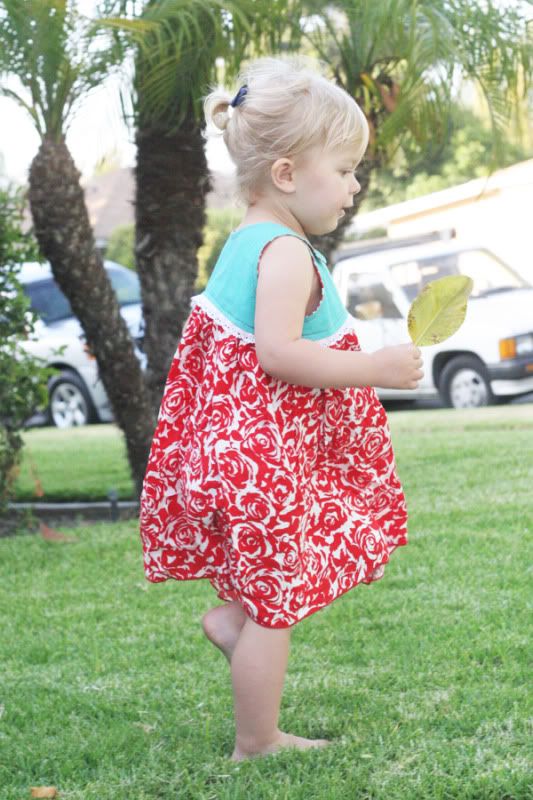
lace-embellished version of my own.

She loves it with her whole toddler heart and I'm way too proud of how my elementary sewing skills managed to come up with this. You can't buy this kind of satisfaction! Creating beats consuming again!
to make this dress
and knowing my twirly, girly girl, decided to change out the stiff skirt for a gathered,
flowy,
airy,
lace-embellished version of my own.
She loves it with her whole toddler heart and I'm way too proud of how my elementary sewing skills managed to come up with this. You can't buy this kind of satisfaction! Creating beats consuming again!
Thursday, May 17, 2012

Thursday, March 1, 2012
Life-sized Hungry Hungry Hippos
Remember this game?
Here's how you can take the funnest hipposGod ever created to the next level of fun. It's about to get REAL in here.
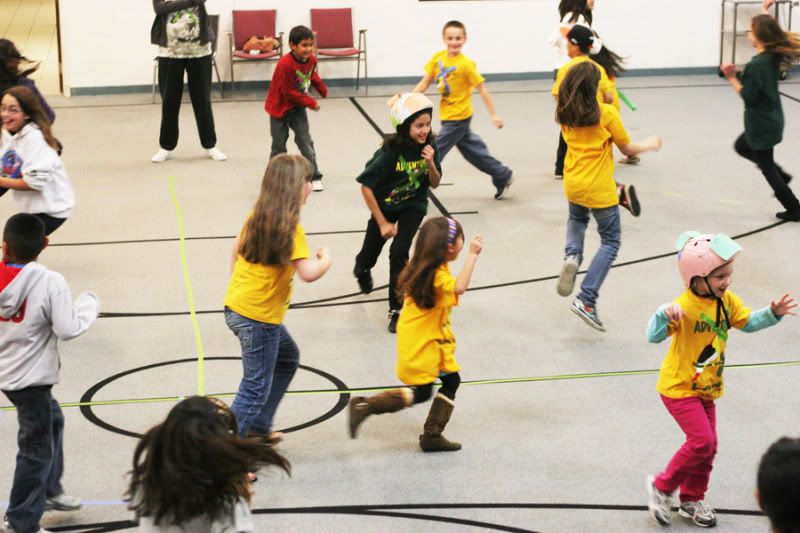
In a large, flat playing area, mark the ground with a circle divided into quadrants.

For a group of about 60 kids, a 30' diameter circle is sufficient.
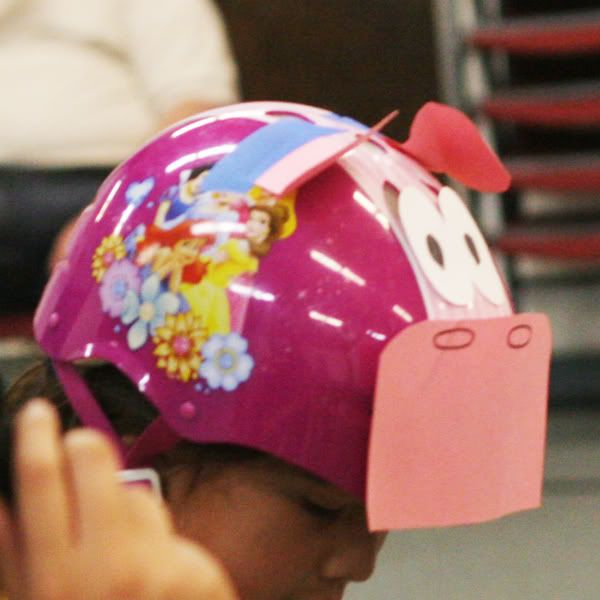
Choose four kids to be hippos. Make them wear bike helmets with taped on construction paper hippo faces.
Here's a template for the hippo faces, if using templates is your thing. No matter what you do, a pink hippo will always look like a pig, but here's an example of how the finished helmets will look.
Direct each hippo to stand in a different quadrant. The lines of that quadrant are that hippo's boundaries.

The rest of the kids are marbles. They can run in any part of the circle at any time. The diameter of the circle is the marbles' boundary.
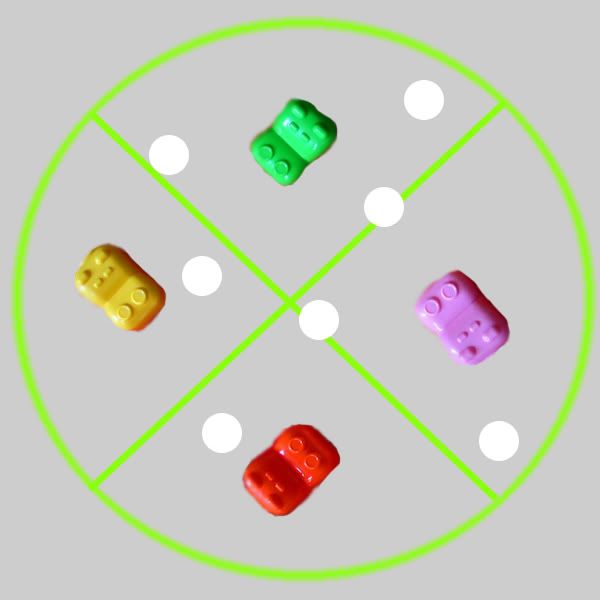
The hippos "chomp" marbles by tagging them. If a hippo chomps a marble, that marble stands outside the quadrant of the hippo that chomped it. A hippo can chomp a marble in another quadrant if the hippo can reach the marble to tag it without stepping outside of the hippo's boundaries. Regardless of the quadrant a marble is in at the time of being chomped, that marble will stand outside the quadrant of the hippo that chomped it.
If, in the course of running, a marble steps outside the circle, that marble must stand outside the quadrant he or she was last in, among the other chomped marbles for that quadrant. That marble will then count as being chomped by the hippo of whose quadrant the marble is standing outside.
The last three marbles to get chomped will be three of the hippos in the next round. The hippo who has chomped the most marbles gets to choose who the fourth hippo for the next round will be.
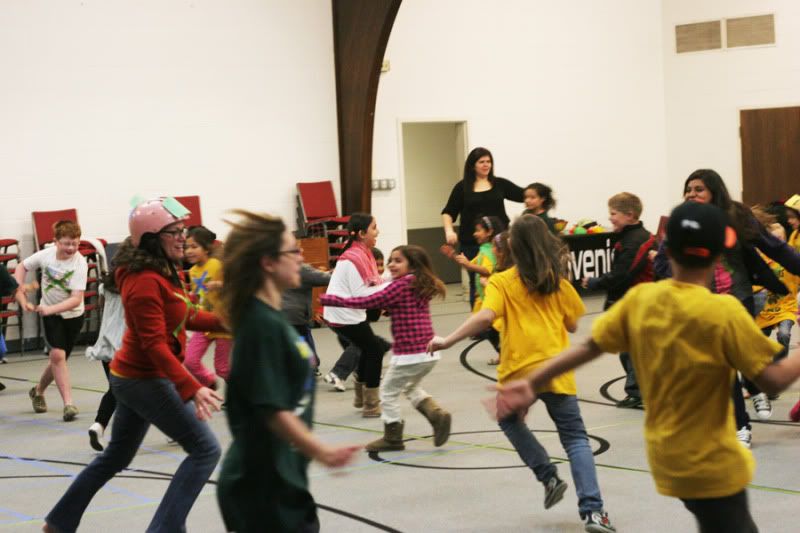
Game continues until the children begin overheating or you can't stand their shrill shrieks anymore.
Note: this game is really awesome, so if you're planning several games, make this one last. I almost made the mistake of playing giant Connect Four after this one, and that would not have been an exciting transition. Save the awesome for last!
Here's how you can take the funnest hippos
In a large, flat playing area, mark the ground with a circle divided into quadrants.
For a group of about 60 kids, a 30' diameter circle is sufficient.
Choose four kids to be hippos. Make them wear bike helmets with taped on construction paper hippo faces.
Here's a template for the hippo faces, if using templates is your thing. No matter what you do, a pink hippo will always look like a pig, but here's an example of how the finished helmets will look.
Direct each hippo to stand in a different quadrant. The lines of that quadrant are that hippo's boundaries.
The rest of the kids are marbles. They can run in any part of the circle at any time. The diameter of the circle is the marbles' boundary.
The hippos "chomp" marbles by tagging them. If a hippo chomps a marble, that marble stands outside the quadrant of the hippo that chomped it. A hippo can chomp a marble in another quadrant if the hippo can reach the marble to tag it without stepping outside of the hippo's boundaries. Regardless of the quadrant a marble is in at the time of being chomped, that marble will stand outside the quadrant of the hippo that chomped it.
If, in the course of running, a marble steps outside the circle, that marble must stand outside the quadrant he or she was last in, among the other chomped marbles for that quadrant. That marble will then count as being chomped by the hippo of whose quadrant the marble is standing outside.
The last three marbles to get chomped will be three of the hippos in the next round. The hippo who has chomped the most marbles gets to choose who the fourth hippo for the next round will be.
Game continues until the children begin overheating or you can't stand their shrill shrieks anymore.
Note: this game is really awesome, so if you're planning several games, make this one last. I almost made the mistake of playing giant Connect Four after this one, and that would not have been an exciting transition. Save the awesome for last!
Thursday, February 23, 2012
Make Your Jeans into Jorts!
The creative project yesterday was converting some ugly, too-short flared jeans into summer shorts. The creative project today is making a blog tutorial so you can do it, too!
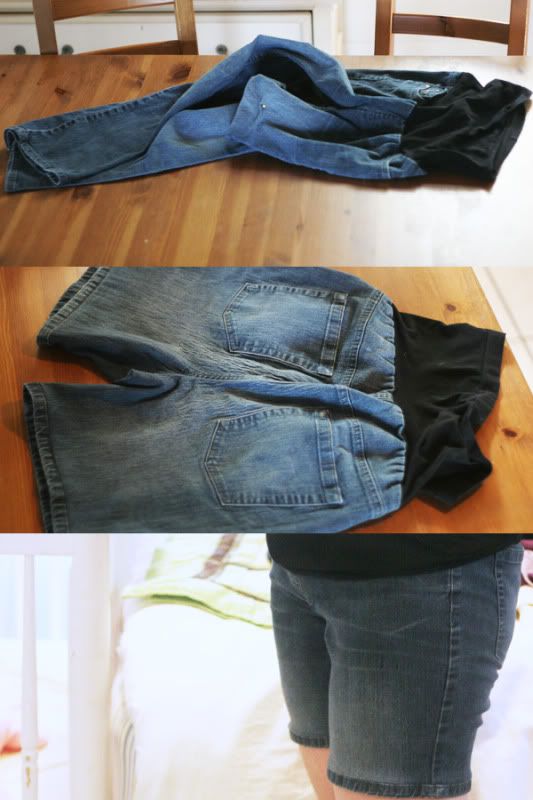
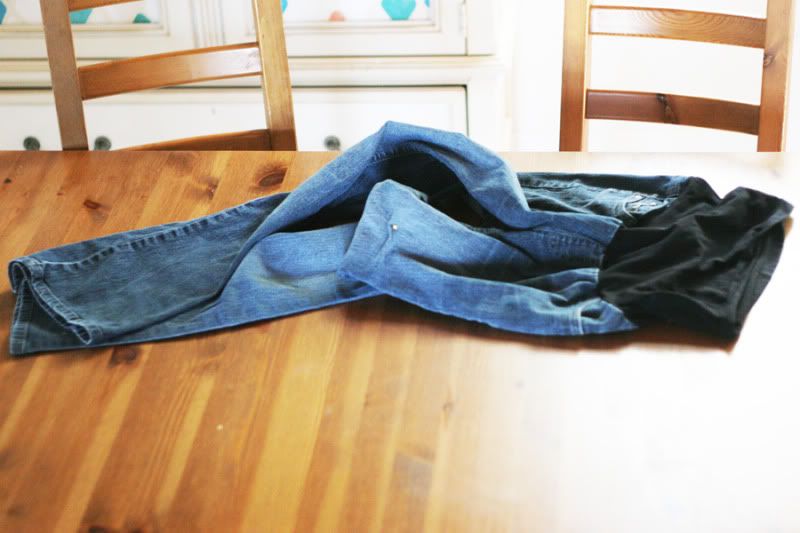
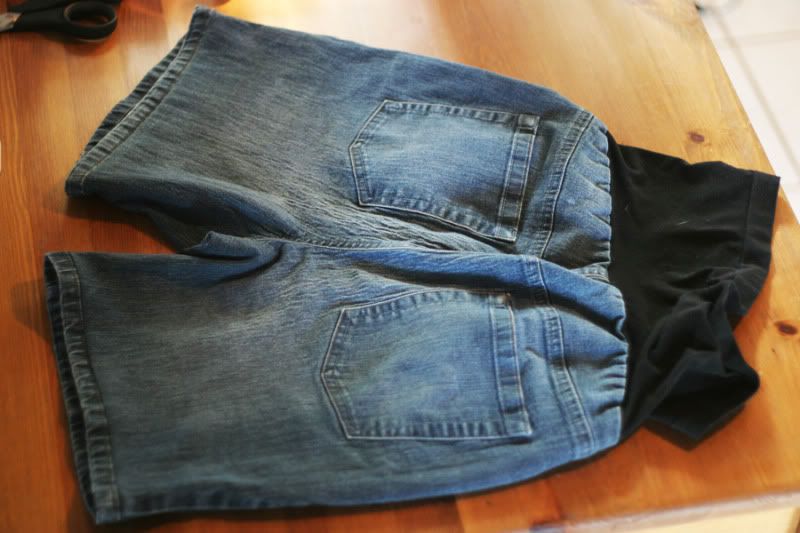
Start with the jeans you hate (they don't have to be maternity jeans). Decide how long you want them to be and mark that length with a pin (see the tiny yellow pin in the left leg of the jeans below?
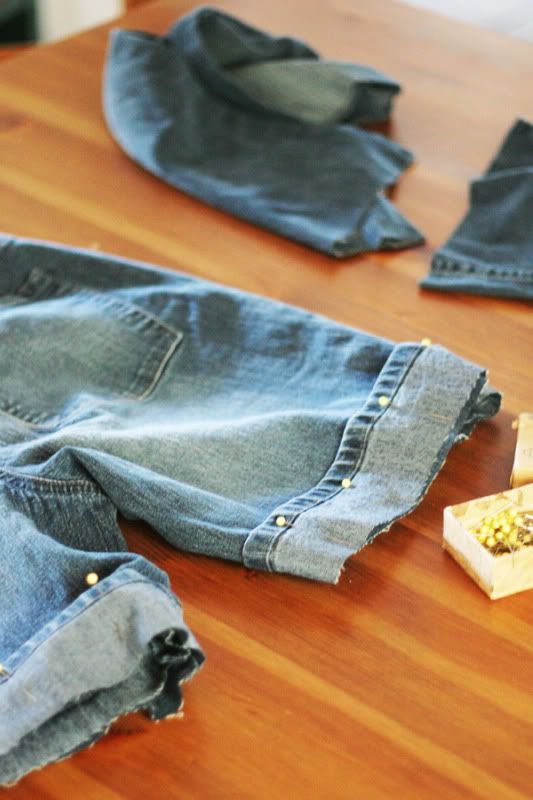
Cut off the bottoms of the legs, approximately an inch-and-a-half below the pin you used to mark your desired length. I can already tell this is going to be a horrible tutorial. Now cut the bottom hems off, leaving an inch-and-a-half of fabric above the hem. Pin one hem to each leg of the shorts with right sides facing, lining up the side seams and the raw edges to match. This project is so much easier to do than explain. Look at the picture and maybe it will become clear:
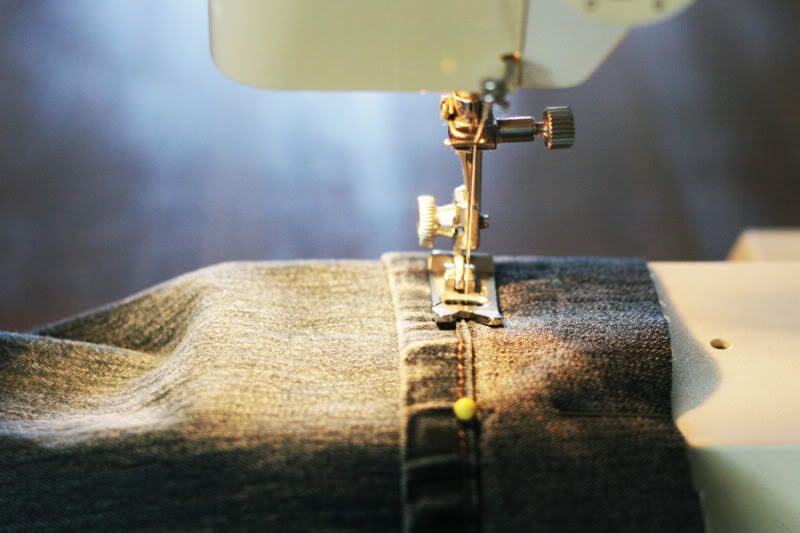
Sew as close to the base of the hem as you dare. Be brave. It'll make your shorts look better.
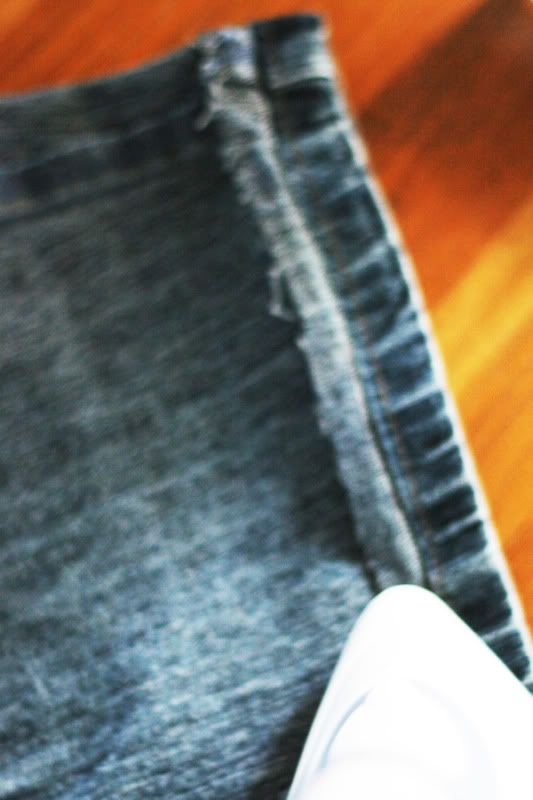
Trim all that "inch-and-a-half" stuff down to about a quarter-inch from the sew line. Turn your new jorts inside out and iron the hems so they'll sit flat when you wear them. I'm not sure whether it's obvious the white triangle in the bottom of this photo is an iron, but if you don't know how to iron this tutorial can't help you much anyway:
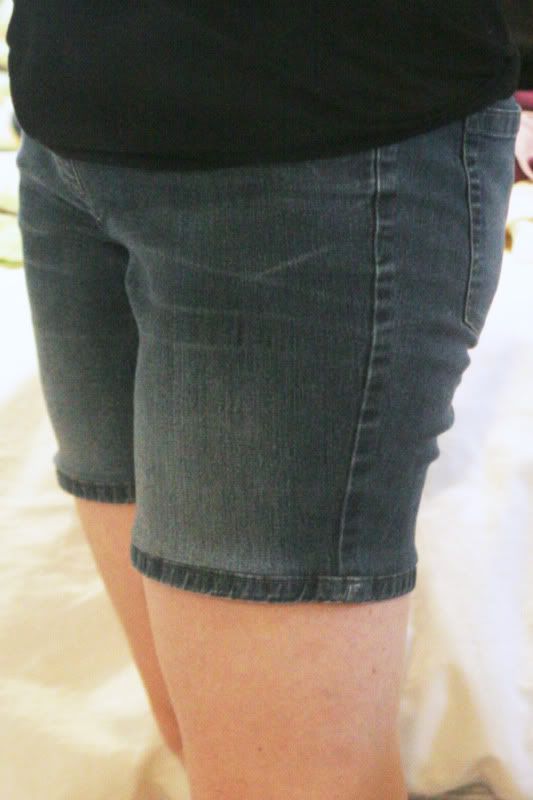
Turn the thing right side out, and you have jorts! And they don't look as homemade as if you'd tried to make new hems on your own!
Take a picture of yourself wearing your jorts, taking care to crop out your gassy bump and the unfolded laundry surrounding you.
Note: I was only able to use the existing pant hems for these jorts because the legs of my pants flared out at the bottom to approximately the same size as their thighs. Such a drastic transformation wouldn't work as well with, say, skinny jeans. You can check whether your pant bottoms flare enough by trying your pants on upside-down first. I'm not kidding. Insert your feet at the leg openings and pull those upside-down pants up your leg to whatever position you want your shorts hems to sit. If the hems fit there comfortably and not too loosely, you're good to go.
I got a little cocky and went too fast sewing across the thickest part of the hems at the side seams. Three times. Learn from me.
Start with the jeans you hate (they don't have to be maternity jeans). Decide how long you want them to be and mark that length with a pin (see the tiny yellow pin in the left leg of the jeans below?
Cut off the bottoms of the legs, approximately an inch-and-a-half below the pin you used to mark your desired length. I can already tell this is going to be a horrible tutorial. Now cut the bottom hems off, leaving an inch-and-a-half of fabric above the hem. Pin one hem to each leg of the shorts with right sides facing, lining up the side seams and the raw edges to match. This project is so much easier to do than explain. Look at the picture and maybe it will become clear:
Sew as close to the base of the hem as you dare. Be brave. It'll make your shorts look better.
Trim all that "inch-and-a-half" stuff down to about a quarter-inch from the sew line. Turn your new jorts inside out and iron the hems so they'll sit flat when you wear them. I'm not sure whether it's obvious the white triangle in the bottom of this photo is an iron, but if you don't know how to iron this tutorial can't help you much anyway:
Turn the thing right side out, and you have jorts! And they don't look as homemade as if you'd tried to make new hems on your own!
Take a picture of yourself wearing your jorts, taking care to crop out your gassy bump and the unfolded laundry surrounding you.
Note: I was only able to use the existing pant hems for these jorts because the legs of my pants flared out at the bottom to approximately the same size as their thighs. Such a drastic transformation wouldn't work as well with, say, skinny jeans. You can check whether your pant bottoms flare enough by trying your pants on upside-down first. I'm not kidding. Insert your feet at the leg openings and pull those upside-down pants up your leg to whatever position you want your shorts hems to sit. If the hems fit there comfortably and not too loosely, you're good to go.
Also, I'm not going to pretend this didn't happen:
I got a little cocky and went too fast sewing across the thickest part of the hems at the side seams. Three times. Learn from me.
So there you have it! There are better tutorials for hemming jeans, so thanks for sticking this one out to the end!
Friday, January 20, 2012
Creative Days
It's day 20 of my 365 day goal: creating something new every day! So far, so great!
Here are photos of the projects I've worked on over the last 19 days. If you'd like to see a tutorial for any of these projects, let me know in the comments!

Day 1 - bapron!
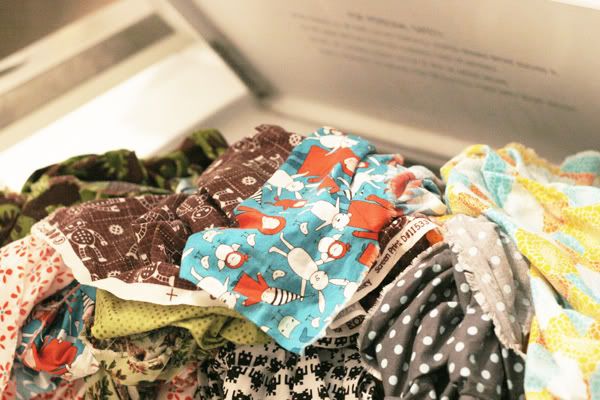
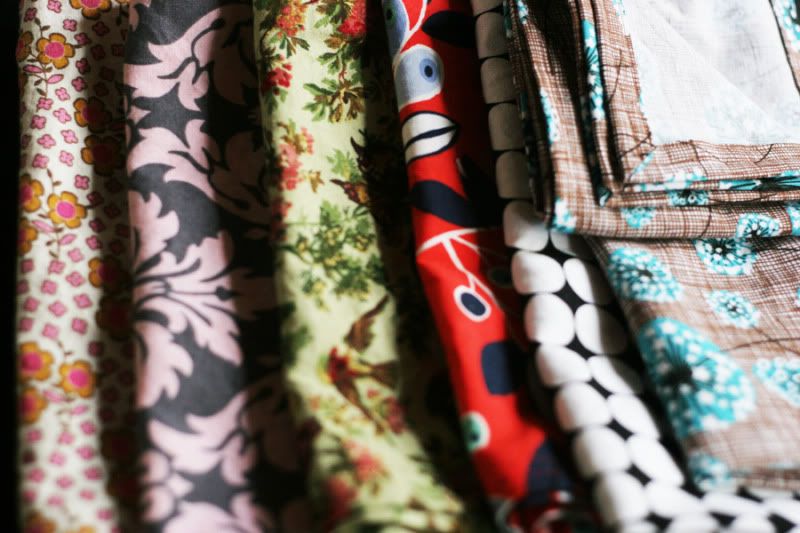
Day 2 - fabric stashing! I count the creative effort to choose fabrics and the crafty effort to get them ready for sewing.
Day 3 - another bapron!

Day 4 - bapronator!
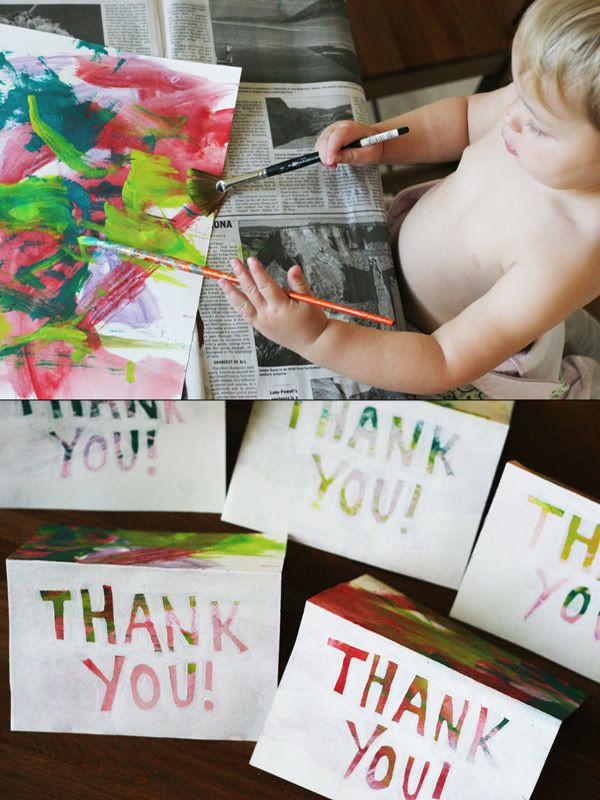
Day 5 - thank you card collaboration with the toddler!
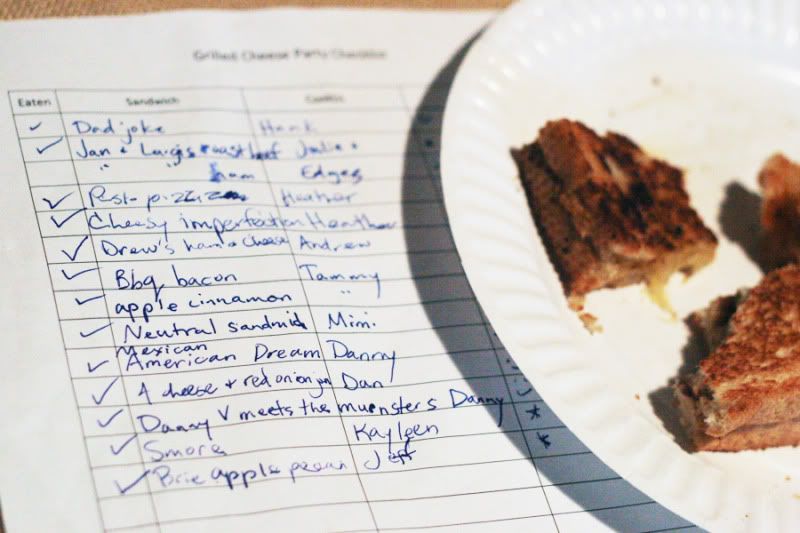
Day 6 - surprise grilled cheese birthday party for my husband!
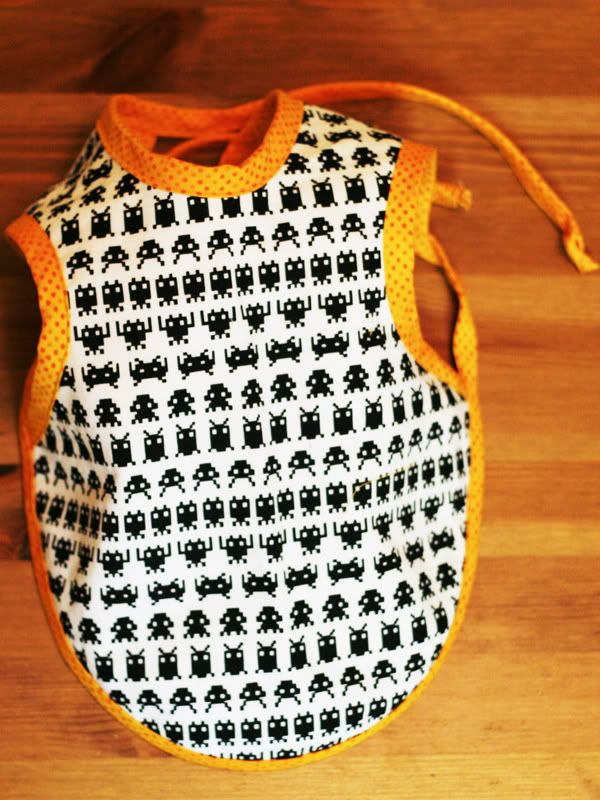
Day 7 - bapron invaders!
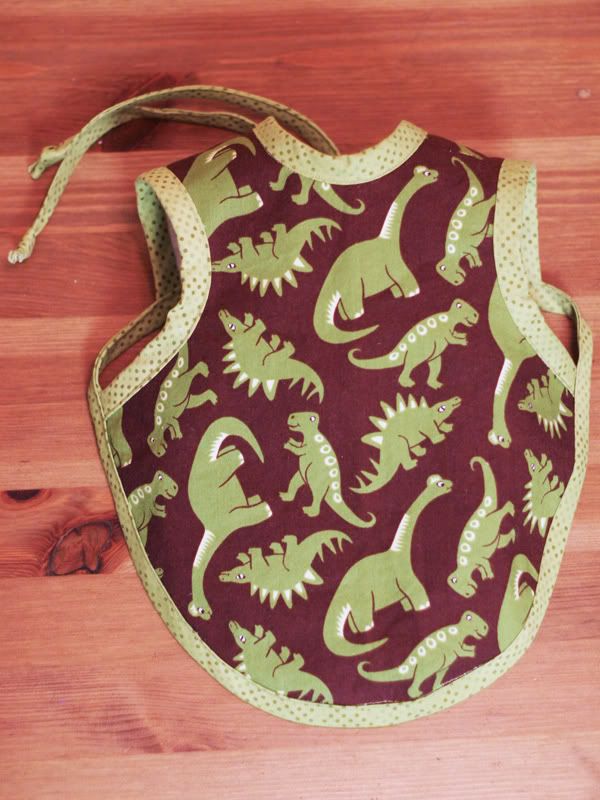
Day 8 - bapronsaurus!
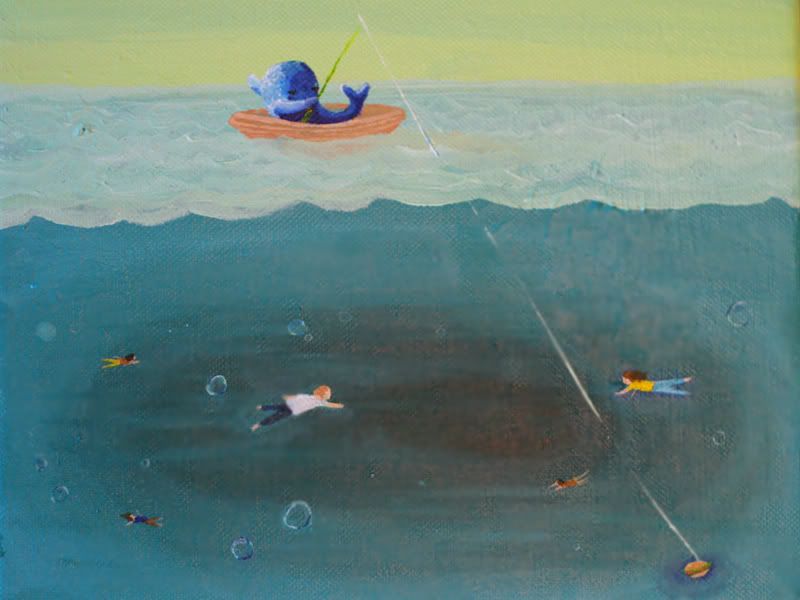
Day 9 - painting!
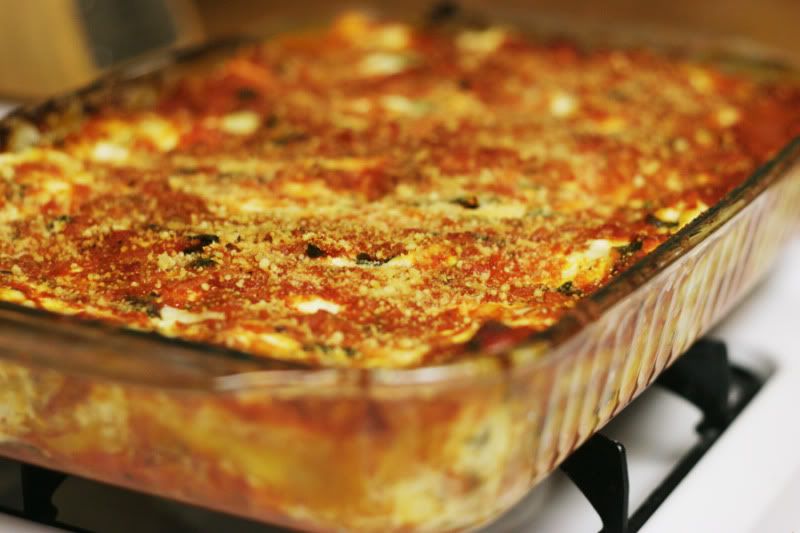
Day 10 - new lasagna recipe, with goat cheese and turkey kielbasa!
Day 11 - illustration of a new skill I learned: cutting chicken!
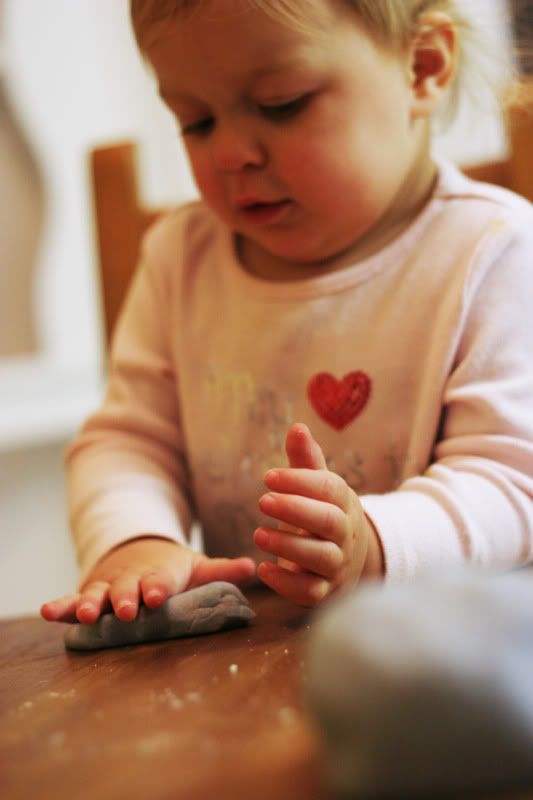
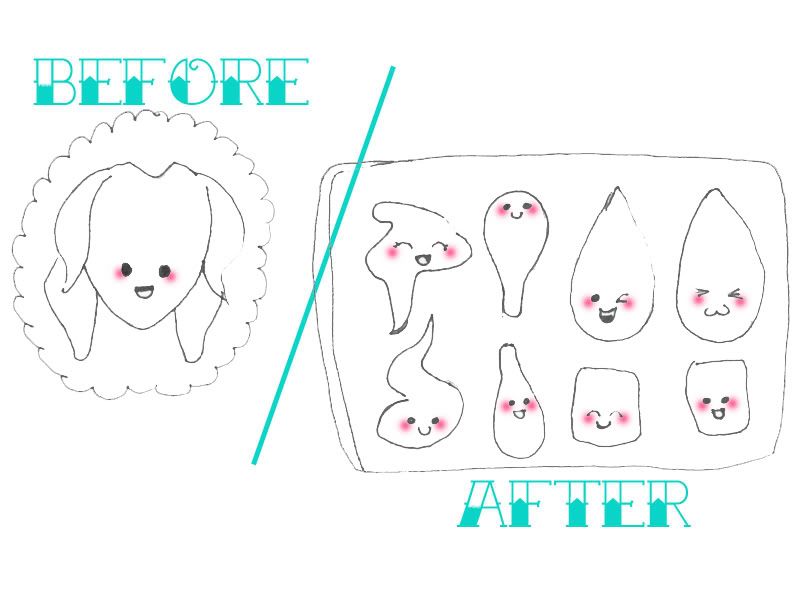
Day 12 - homemade sickly gray playdough!
Day 13 - napkins with mitered corners!
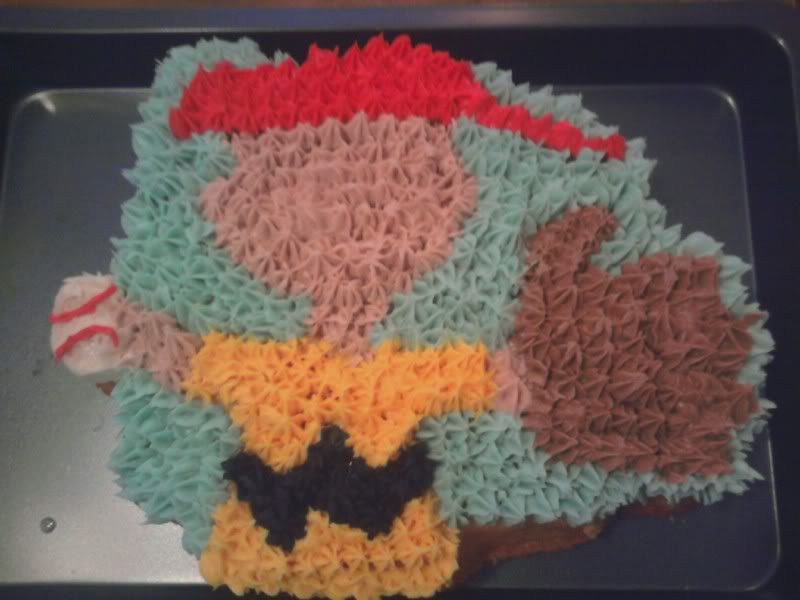
Day 14 - helped a friend decorate a cake for her husband's birthday!
Day 15 - video!
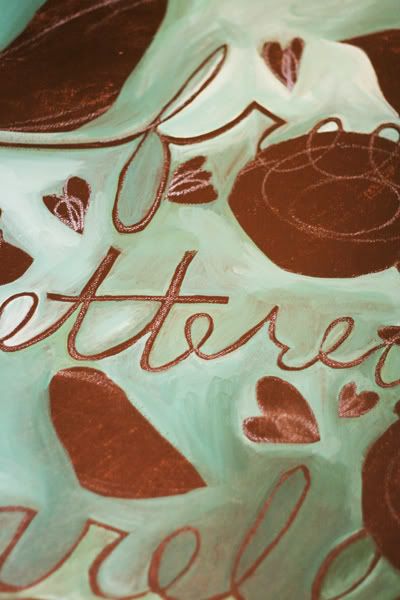
Day 16 - painting progress 1!
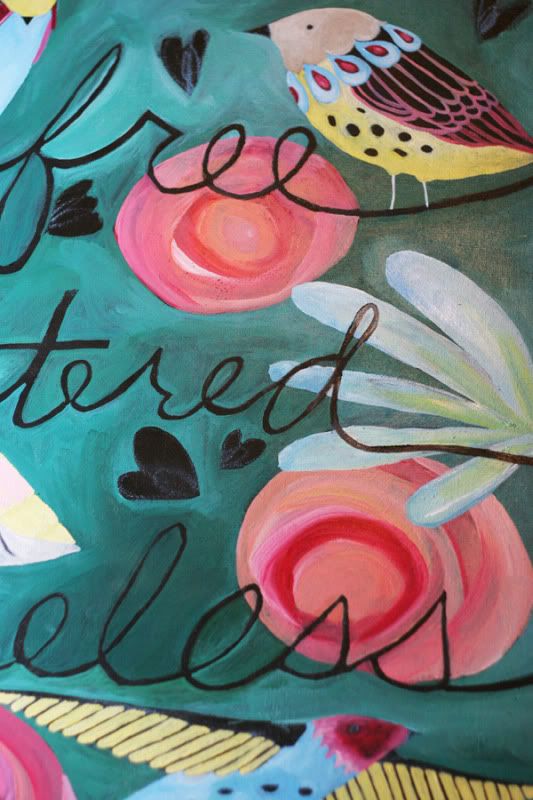
Day 17 - painting progess 2!
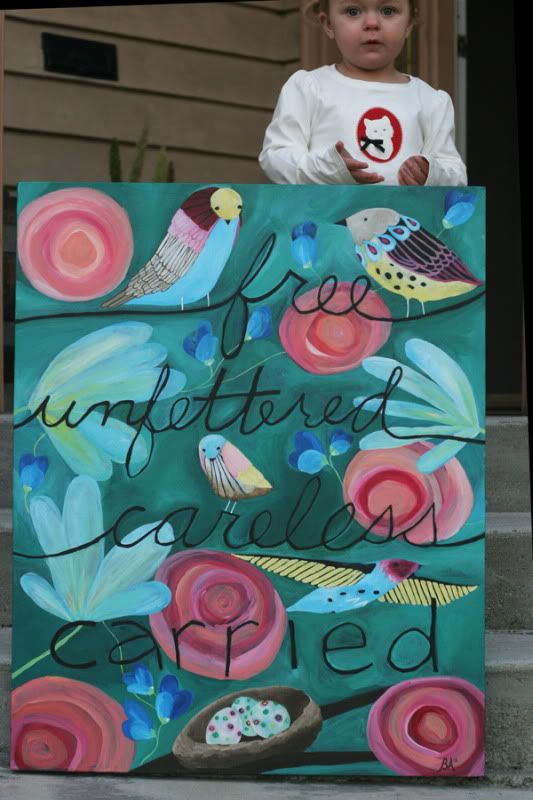
Day 18a - painting finished!

Day 18b - invented 3D memory game! Paired objects from around the house go in a grid under paper bags, and kids take turns finding the pairs.
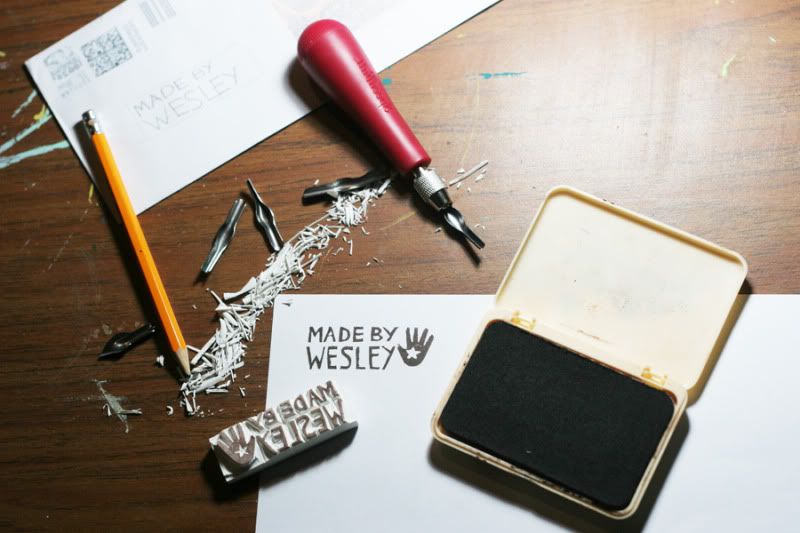
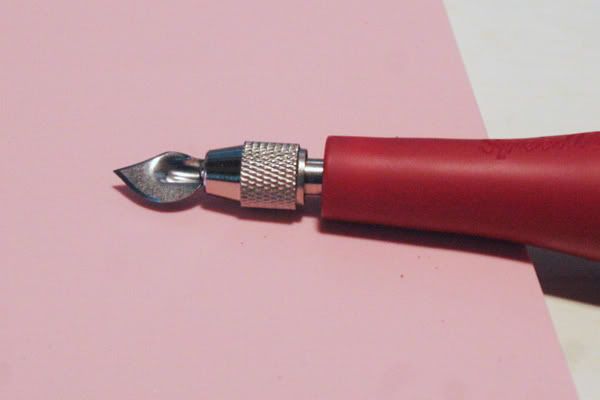
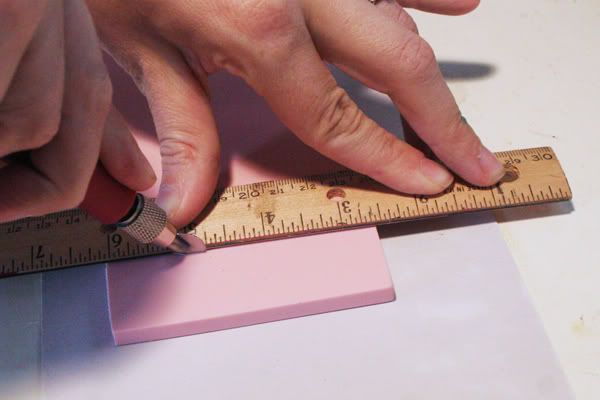
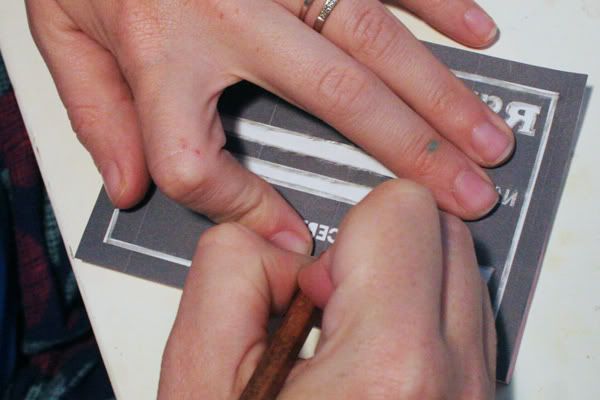
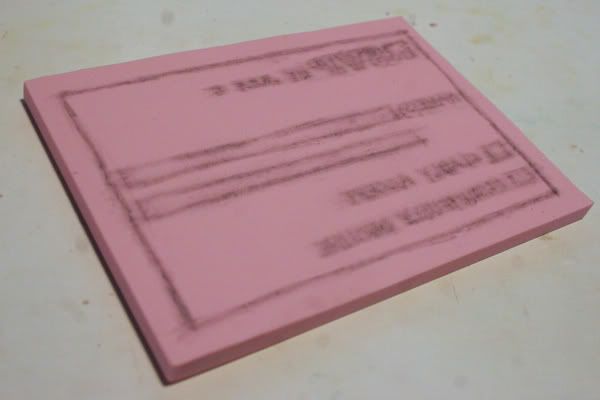
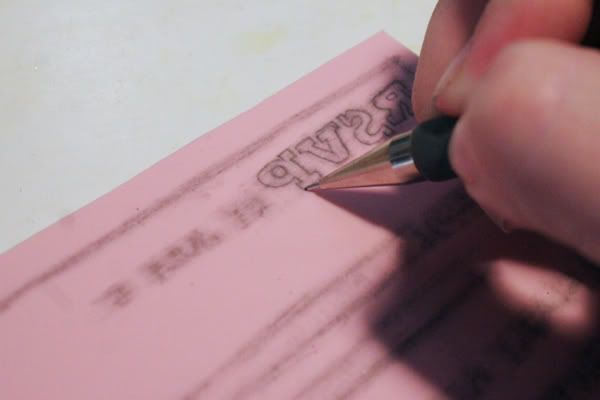
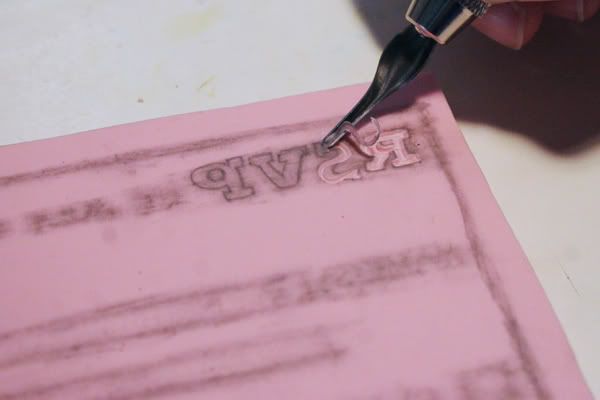
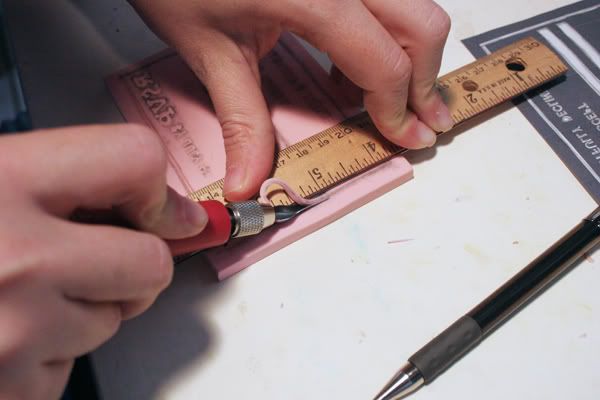
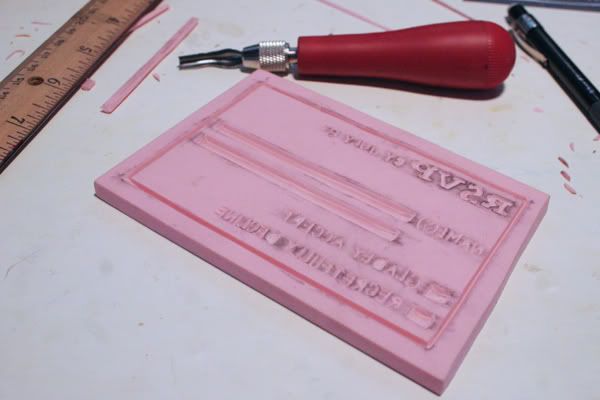
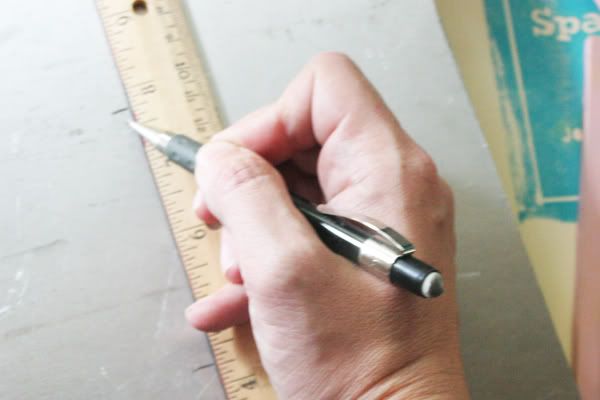
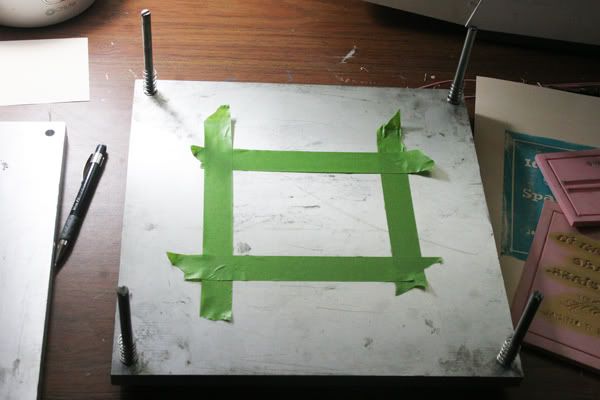
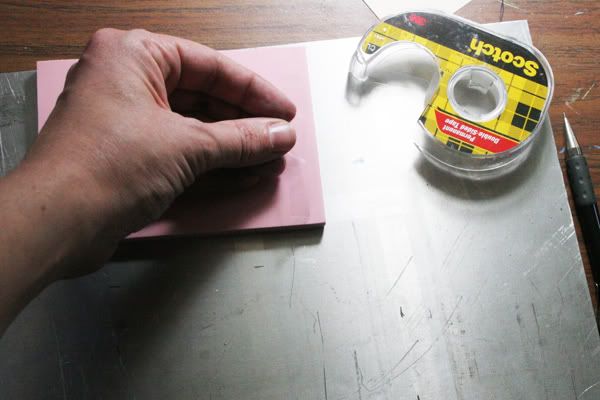
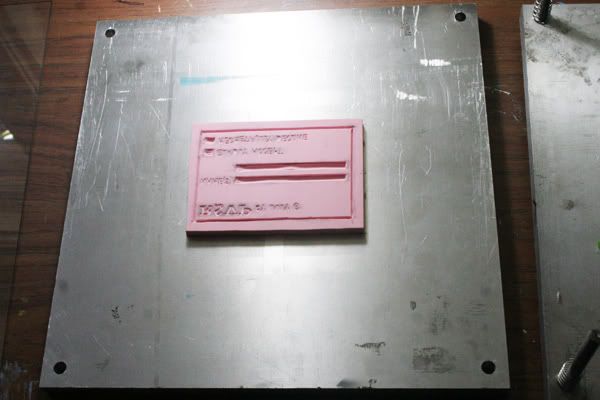
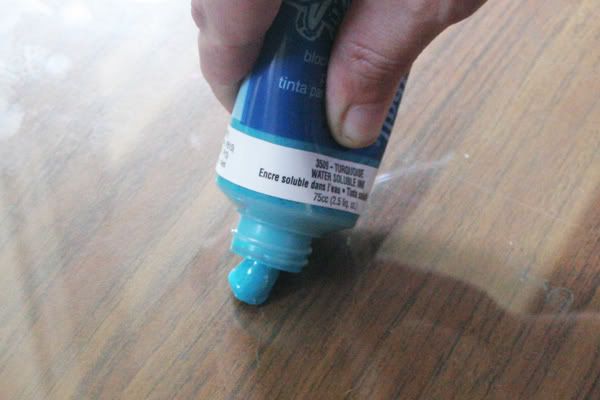
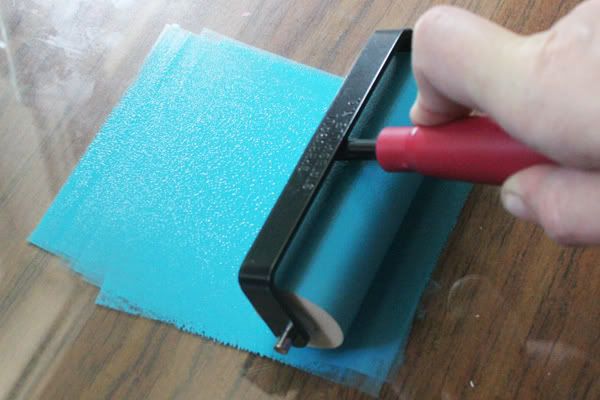
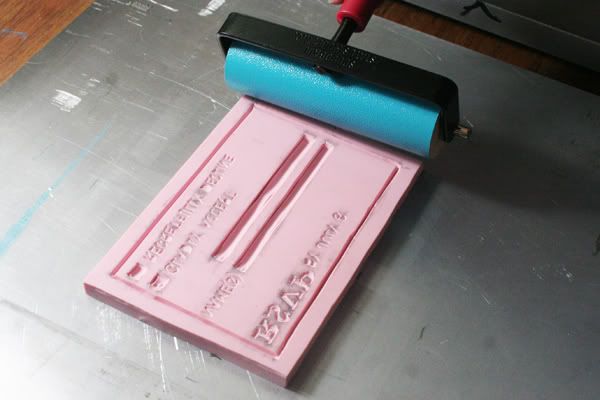
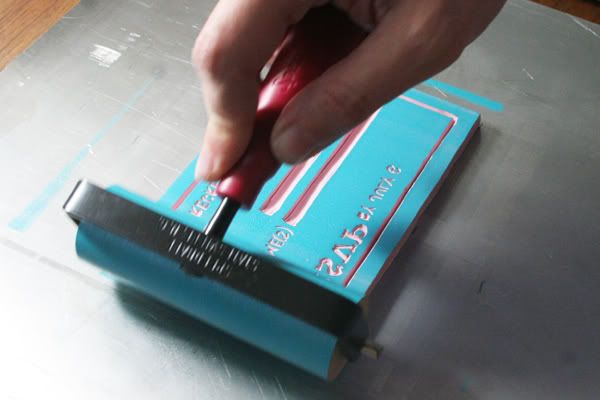
Day 19 - stamp carving! This day's project was a FAIL! The photo is flipped so it looks like my backward stamp came out correctly - haha!
With each project standing on its own, I'd say some were successes and some were not successful at all. But since my goal is to overcome the hang ups of perfectionism that keep me from producing more, so far I count it all as a WIN!
Here are photos of the projects I've worked on over the last 19 days. If you'd like to see a tutorial for any of these projects, let me know in the comments!
Day 1 - bapron!
Day 2 - fabric stashing! I count the creative effort to choose fabrics and the crafty effort to get them ready for sewing.
Day 3 - another bapron!
Day 4 - bapronator!
Day 5 - thank you card collaboration with the toddler!
Day 6 - surprise grilled cheese birthday party for my husband!
Day 7 - bapron invaders!
Day 8 - bapronsaurus!
Day 9 - painting!
Day 10 - new lasagna recipe, with goat cheese and turkey kielbasa!
Day 11 - illustration of a new skill I learned: cutting chicken!
Day 12 - homemade sickly gray playdough!
Day 13 - napkins with mitered corners!
Day 14 - helped a friend decorate a cake for her husband's birthday!
Day 15 - video!
Day 16 - painting progress 1!
Day 17 - painting progess 2!
Day 18a - painting finished!
Day 18b - invented 3D memory game! Paired objects from around the house go in a grid under paper bags, and kids take turns finding the pairs.
Day 19 - stamp carving! This day's project was a FAIL! The photo is flipped so it looks like my backward stamp came out correctly - haha!
With each project standing on its own, I'd say some were successes and some were not successful at all. But since my goal is to overcome the hang ups of perfectionism that keep me from producing more, so far I count it all as a WIN!
Subscribe to:
Posts (Atom)